A door is more than just an entryway; it’s a gateway to the style, security, and functionality of your home. Whether you’re replacing an old door or installing a new one, the process requires attention to detail, proper tools, and strategic planning. In this comprehensive guide, we’ll delve into the nuances of door installation, offering valuable tips, practical advice, and step-by-step instructions to ensure a successful outcome. From choosing the right door to adding finishing touches, let’s explore everything you need to know to master the art of door installation.
Choosing the Right Door:
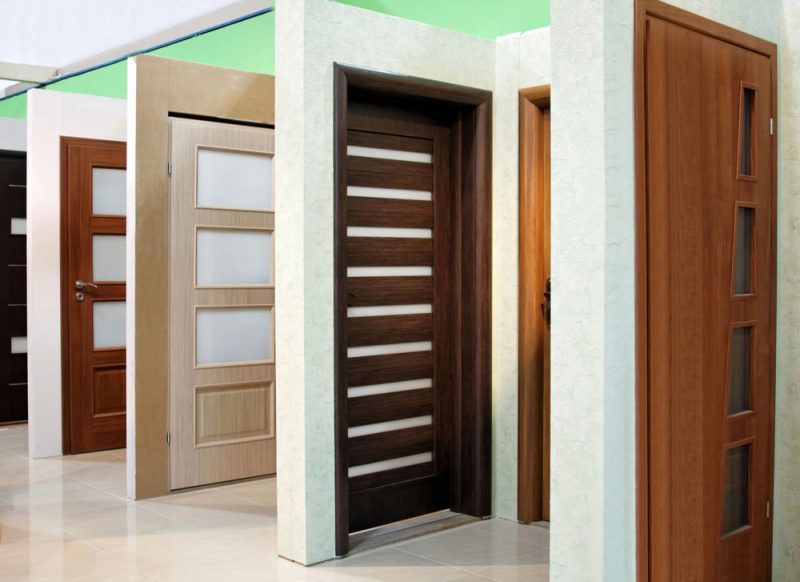
The first step in any door installation project is selecting the right door for your needs and preferences. Consider factors such as material, style, size, and functionality. Wood, fiberglass, and steel are popular choices for exterior doors, each offering unique benefits in terms of durability, insulation, and aesthetics. Interior doors come in a variety of styles, including panel, flush, glass, and pocket doors, allowing you to customize the look and feel of your space. Take accurate measurements of the door opening to ensure a proper fit, and consider additional features such as insulation and security options for exterior doors.
Preparing the Opening:
Proper preparation is crucial for a smooth and successful door installation. Start by removing the old door and any hardware, including hinges, locks, and strike plates. Clean the opening thoroughly, removing any debris or obstructions. Inspect the frame and surrounding walls for damage, and make any necessary repairs before proceeding. Check the opening for level, plumb, and square, using a level and carpenter’s square to ensure accuracy. If the opening is out of alignment, use shims to make adjustments and create a level surface for the new door.
Gathering the Right Tools and Materials:
Having the right tools and materials on hand is essential for a successful door installation. Basic tools may include a tape measure, level, hammer, screwdriver, drill, chisel, pry bar, and safety equipment such as gloves and safety glasses. Depending on the type of door and installation method, you may also need shims, screws, nails, caulk, insulation, and finishing materials such as paint or stain. Take inventory of your tools and materials before starting the project, and make sure everything is readily accessible.
Installing the Door Frame:
The next step in the door installation process is installing the door frame. Position the frame in the opening, ensuring it is plumb, level, and square. Use shims to create a snug fit between the frame and the opening, placing them behind the hinges and strike plate locations. Check for squareness at each corner of the frame, adjusting as needed to achieve a perfect fit. Once the frame is properly aligned, secure it in place with screws or nails, driving them through the frame and into the surrounding structure for added stability.
Hanging the Door:
With the frame securely in place, it’s time to hang the door itself. Begin by attaching the hinges to the door according to the manufacturer’s instructions, making sure they are aligned correctly and securely fastened. Enlist the help of a friend or family member to assist with lifting and positioning the door in the frame. Insert the hinge pins into the hinges, allowing the door to swing freely. Check for smooth operation and proper clearance around the edges of the door, adjusting the hinges as needed to achieve a perfect fit.
Adding Hardware and Finishing Touches:
Once the door is hung, it’s time to add hardware such as handles, locks, and latches. Follow the manufacturer’s guidelines for installation, ensuring that everything is properly aligned and functioning smoothly. Test the operation of the door hardware to make sure it opens and closes securely. Seal any gaps between the frame and the wall with caulk or weatherstripping to improve insulation and prevent drafts. Finally, apply any desired finish or paint to complete the look and protect the door from the elements.
Troubleshooting and Adjustments:
Even with careful planning and execution, it’s not uncommon to encounter minor issues during the door installation process. Be prepared to make adjustments as needed, such as shaving down edges, adding additional shims, or tweaking hardware alignment. Take your time and don’t hesitate to seek guidance or assistance if you encounter challenges beyond your expertise. Remember, patience and persistence are key to achieving professional results.

Call Bayfront Exteriors Today For Professional Door Installation
Installing a door is a rewarding project that can enhance the appearance, security, and functionality of your home. By following the tips and techniques outlined in this guide, you can tackle the installation process with confidence and achieve professional results. Whether you’re upgrading your interior doors or installing a new front entryway, proper planning, preparation, and execution are essential for success. So roll up your sleeves, gather your tools, and get ready to transform your space with a beautiful new door installation!